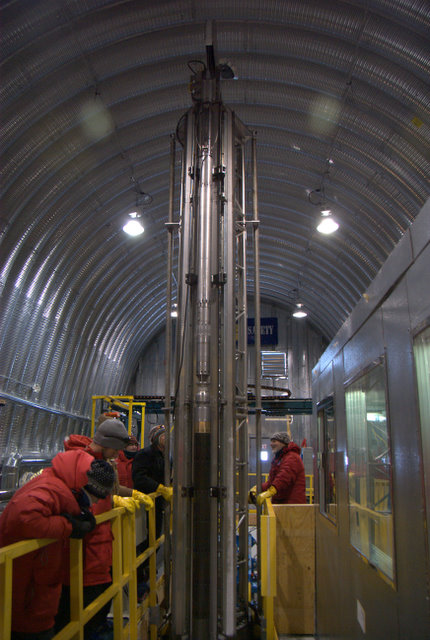
First Core of 2009/2010 Season!
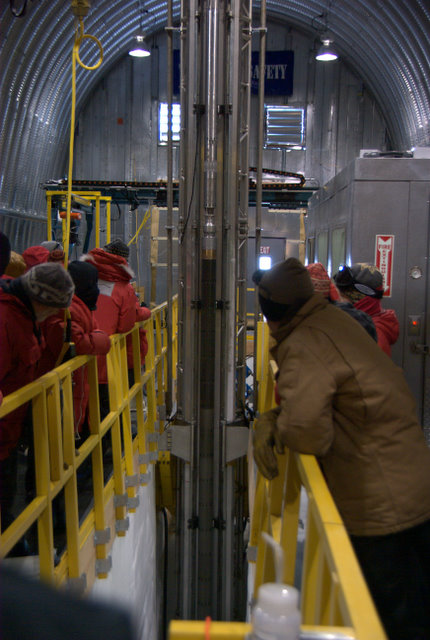
Near all hands are on deck as the first core of the season is brought
to the surface. The drill is raised on to the "tower" and is then
tilted
horizontal.
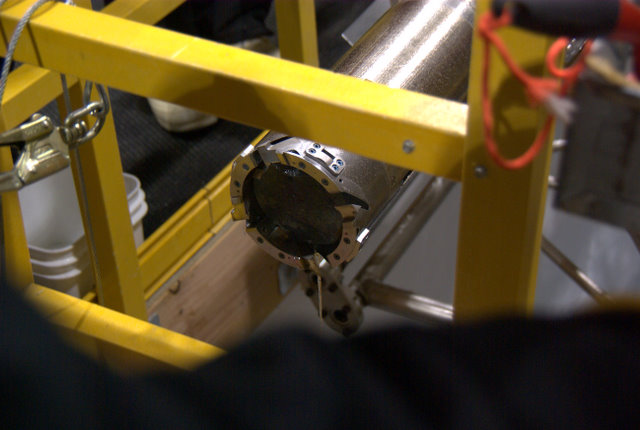
Here's the first ice core of the season! You can see the stream
of drilling fluid
running out the end of the drill, in about the 5 O'clock
position. This isn't the
greatest picture, as the crowd was pretty tight about the core, taking
many other
pictures.
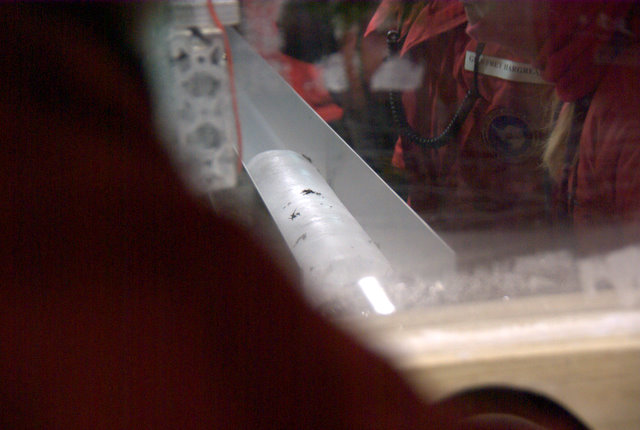
Here's why we're in Antarctica -- ICE CORE! Again, the view was
tight due to the
crowd. The extra black clumps on the core are from the new cable
"shedding" the
gap filler. They don't really contaminate the core, and are
removed. This is a
shot through a plastic window into the core handling room from the
drill "arch" room.
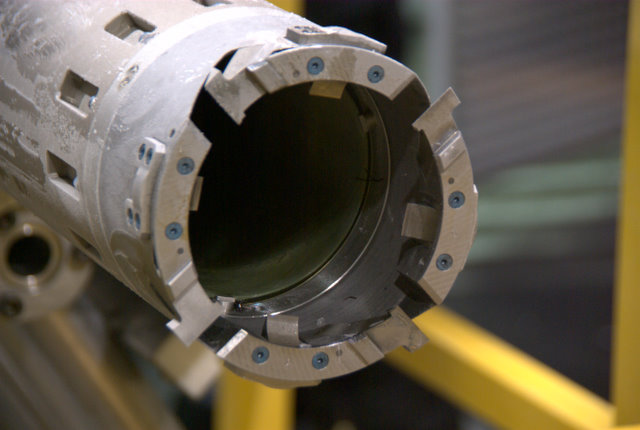
Here's the business end of the drill. The cutting blades are at
the 2, 4, 8, and 10
O'clock positions. The "core dogs", which are spring loaded
wedges that bite into the
ice core, are at the 12:30, 3:30, 6:30, and 9:30 positions. The
greenish fiberglass tube
into which the ice core passes is visible a few inches into the
barrel. There is a hollow
space between the outside of the fiberglass tube and the inside of the
stainless barrel
where the ice chips pass around the ice core and into the screen
section of the drill.
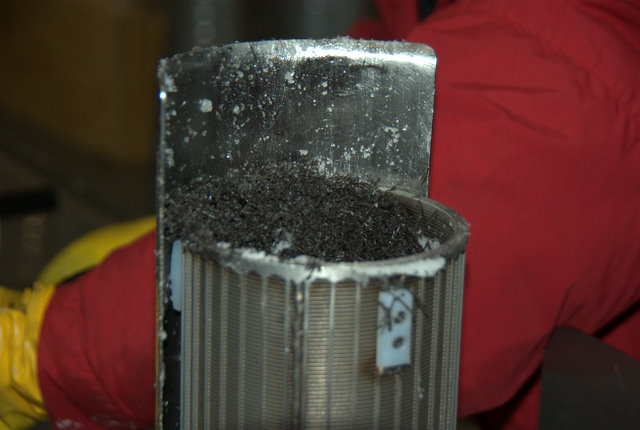
The gap filler from the new cable is choking the screen sections.
Fortunately, we
are only filling the screen sections with ice chips now.
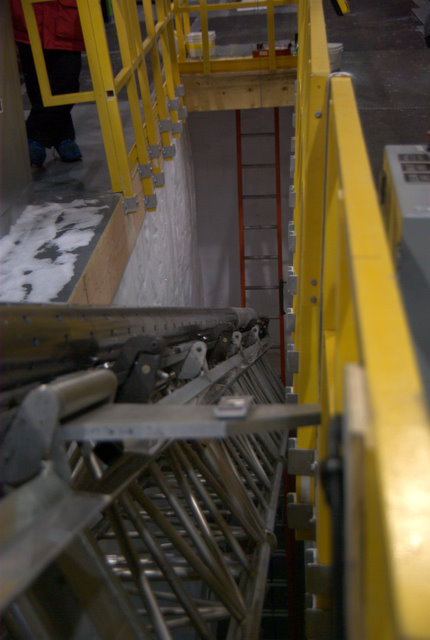
Here's a view of the tower tilting as the drill is lowered to fetch
the second core of the season. You can see into the slot, and see
the access ladder we use to access the slot. A complete safety
harness system is used for all personnel access into the slot. If
you
look closely, you can see the core portion of the drill is very cold
from
the -25 C temperature in the bore hole and frosty from the relative
humidity in the arch. The portion of the drill that is not frosty
is the
screen section, which there are two of. We clean one as the
other
is being used, so the clean one "warms" to the -10 C in the arch and is
no longer so frosty.
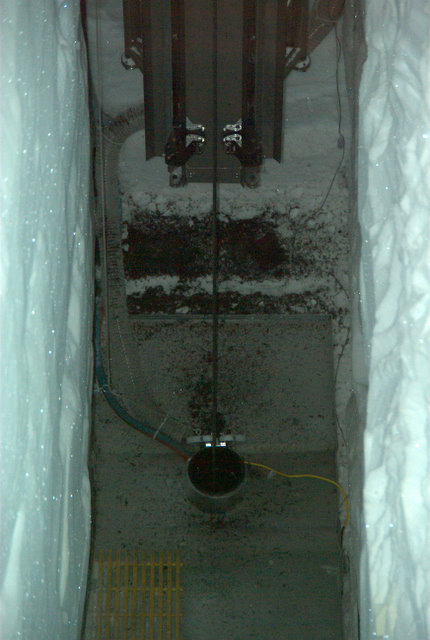
The top of the bore hole. The cable that lowers the drill
into the hole is visible. The bottom of the slot has drip pans
which collect drilling fluid that drops off the drill as it is
rotated horizontal. A blue and red striped tube is used for
adding new fluid into the bore hole. The yellow wire is simply
a detector for the bore hole cover. The cover is white plastic
and edge-on right above the bore hole casing. The black is all
gap filler from the cable.
A view of the top of the tower. The encased pulley at the
top of the tower is called the crown sheave. The control
station is on the right, with the windows. It's heated.
Sometimes low tech works great with high tech equipment.
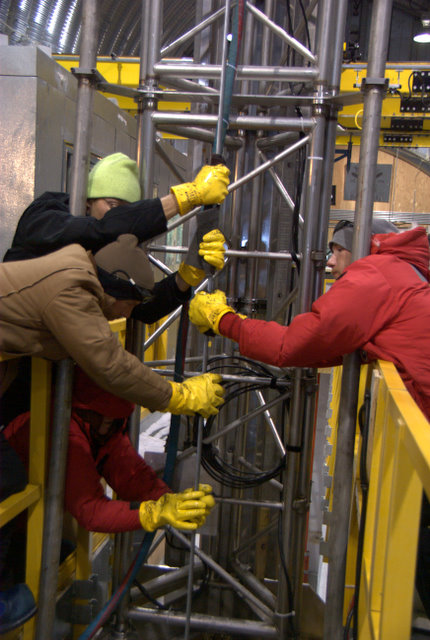
Here's (from bottom left) Lou, Jay, and Rob. Josh is on the right.
All are wearing protective yellow gloves and using scotch bright
pads to abrade the gap filler off the cable as it passes by.